
How To Wire In a Front Bottle Dynamo Light
I’ll start by saying I am no electrician! To be honest I often find the whole electronics thing a little bit daunting. But as a bike mechanic it is something Ive had to embrace over the years, what with the progression of electronic shifting etc.
We’ve had a recent refurbishment project of an old Pashley bike that had been left in the rain and the dynamo light, a real classic, was totally perished and corroded. So here’s a very simple guide as to how to fit and wire a new bottle dynamo front road bike light.

You Need For Your Dynamo Fitting:
Bottle dynamo and compatible light (I bought it as a kit here’s what was included pictured above)
Wire cutters
Stanley Knife
Allen keys or spanners for attachment
Installing your bottle dynamo and light
Firstly its a good idea to test the light works, in this case I bought it new so assumed it would but there’s no harm in testing!
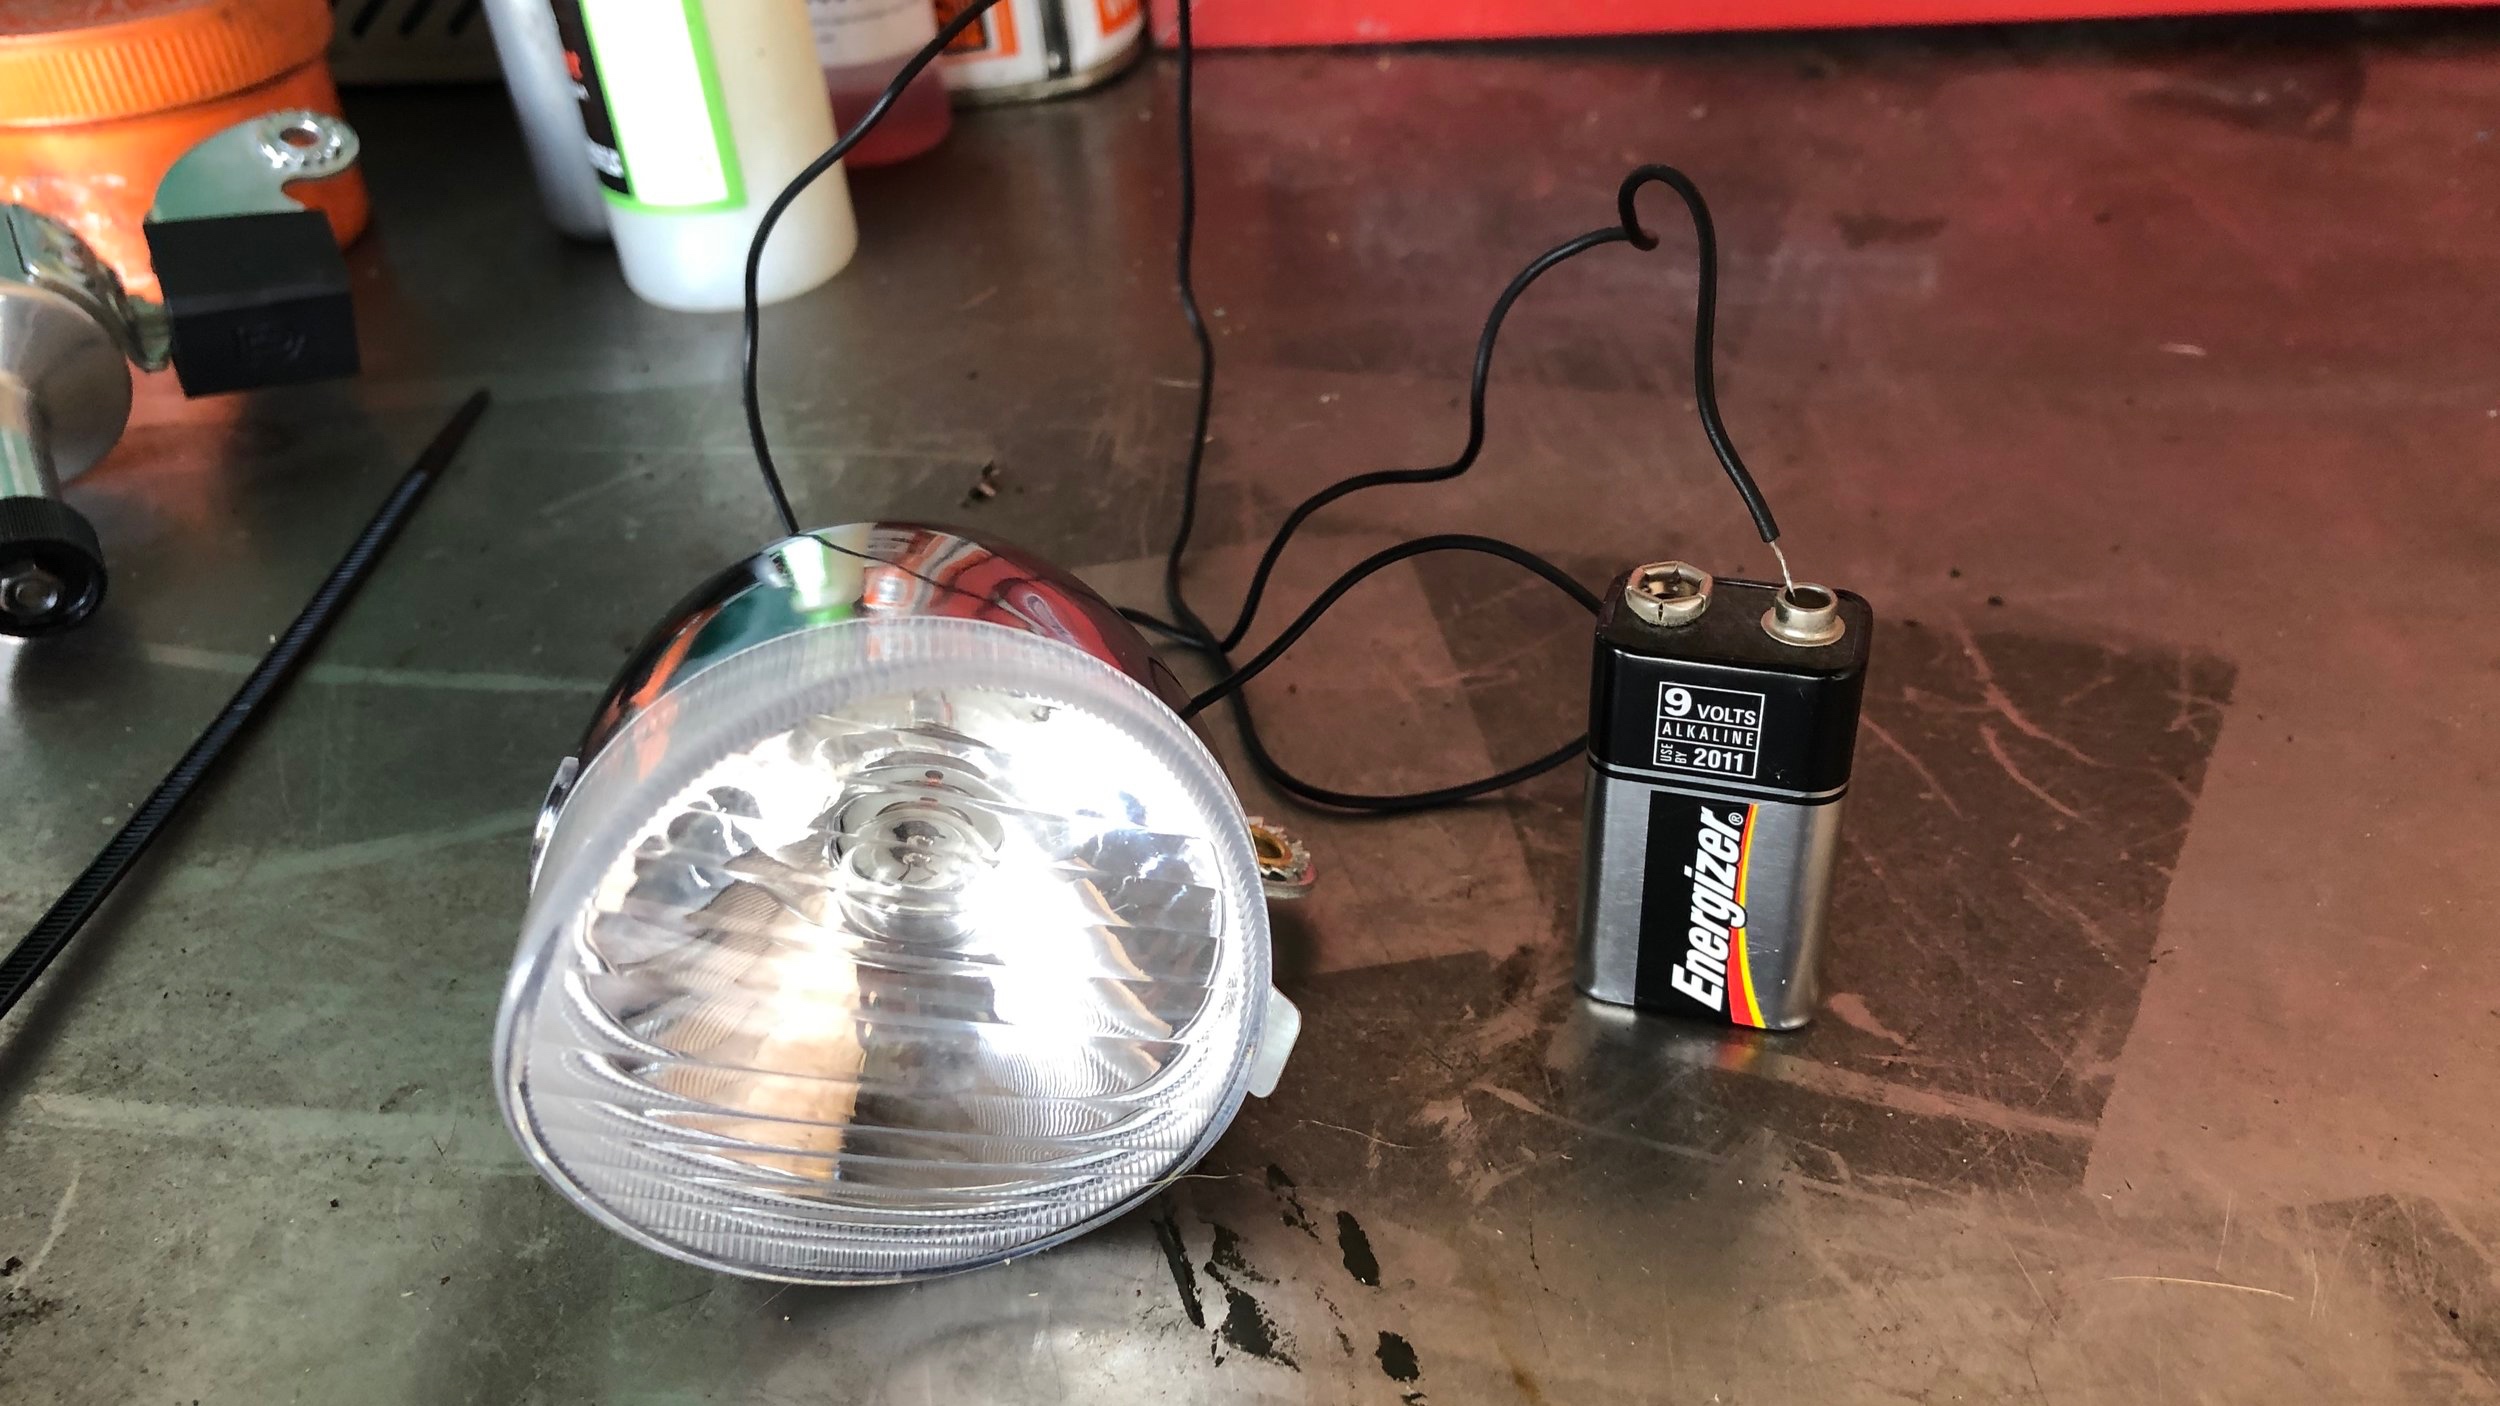

Attach the positive wire from the light to the positive of the battery, in my case there is only one wire already wired to the lamp this is the positive.
Then touch the lamp to the negative terminal of the battery to complete the circuit and hope the bulb lights up! If there is a negative terminal or wire on the light, it’s the same process just using the wire.


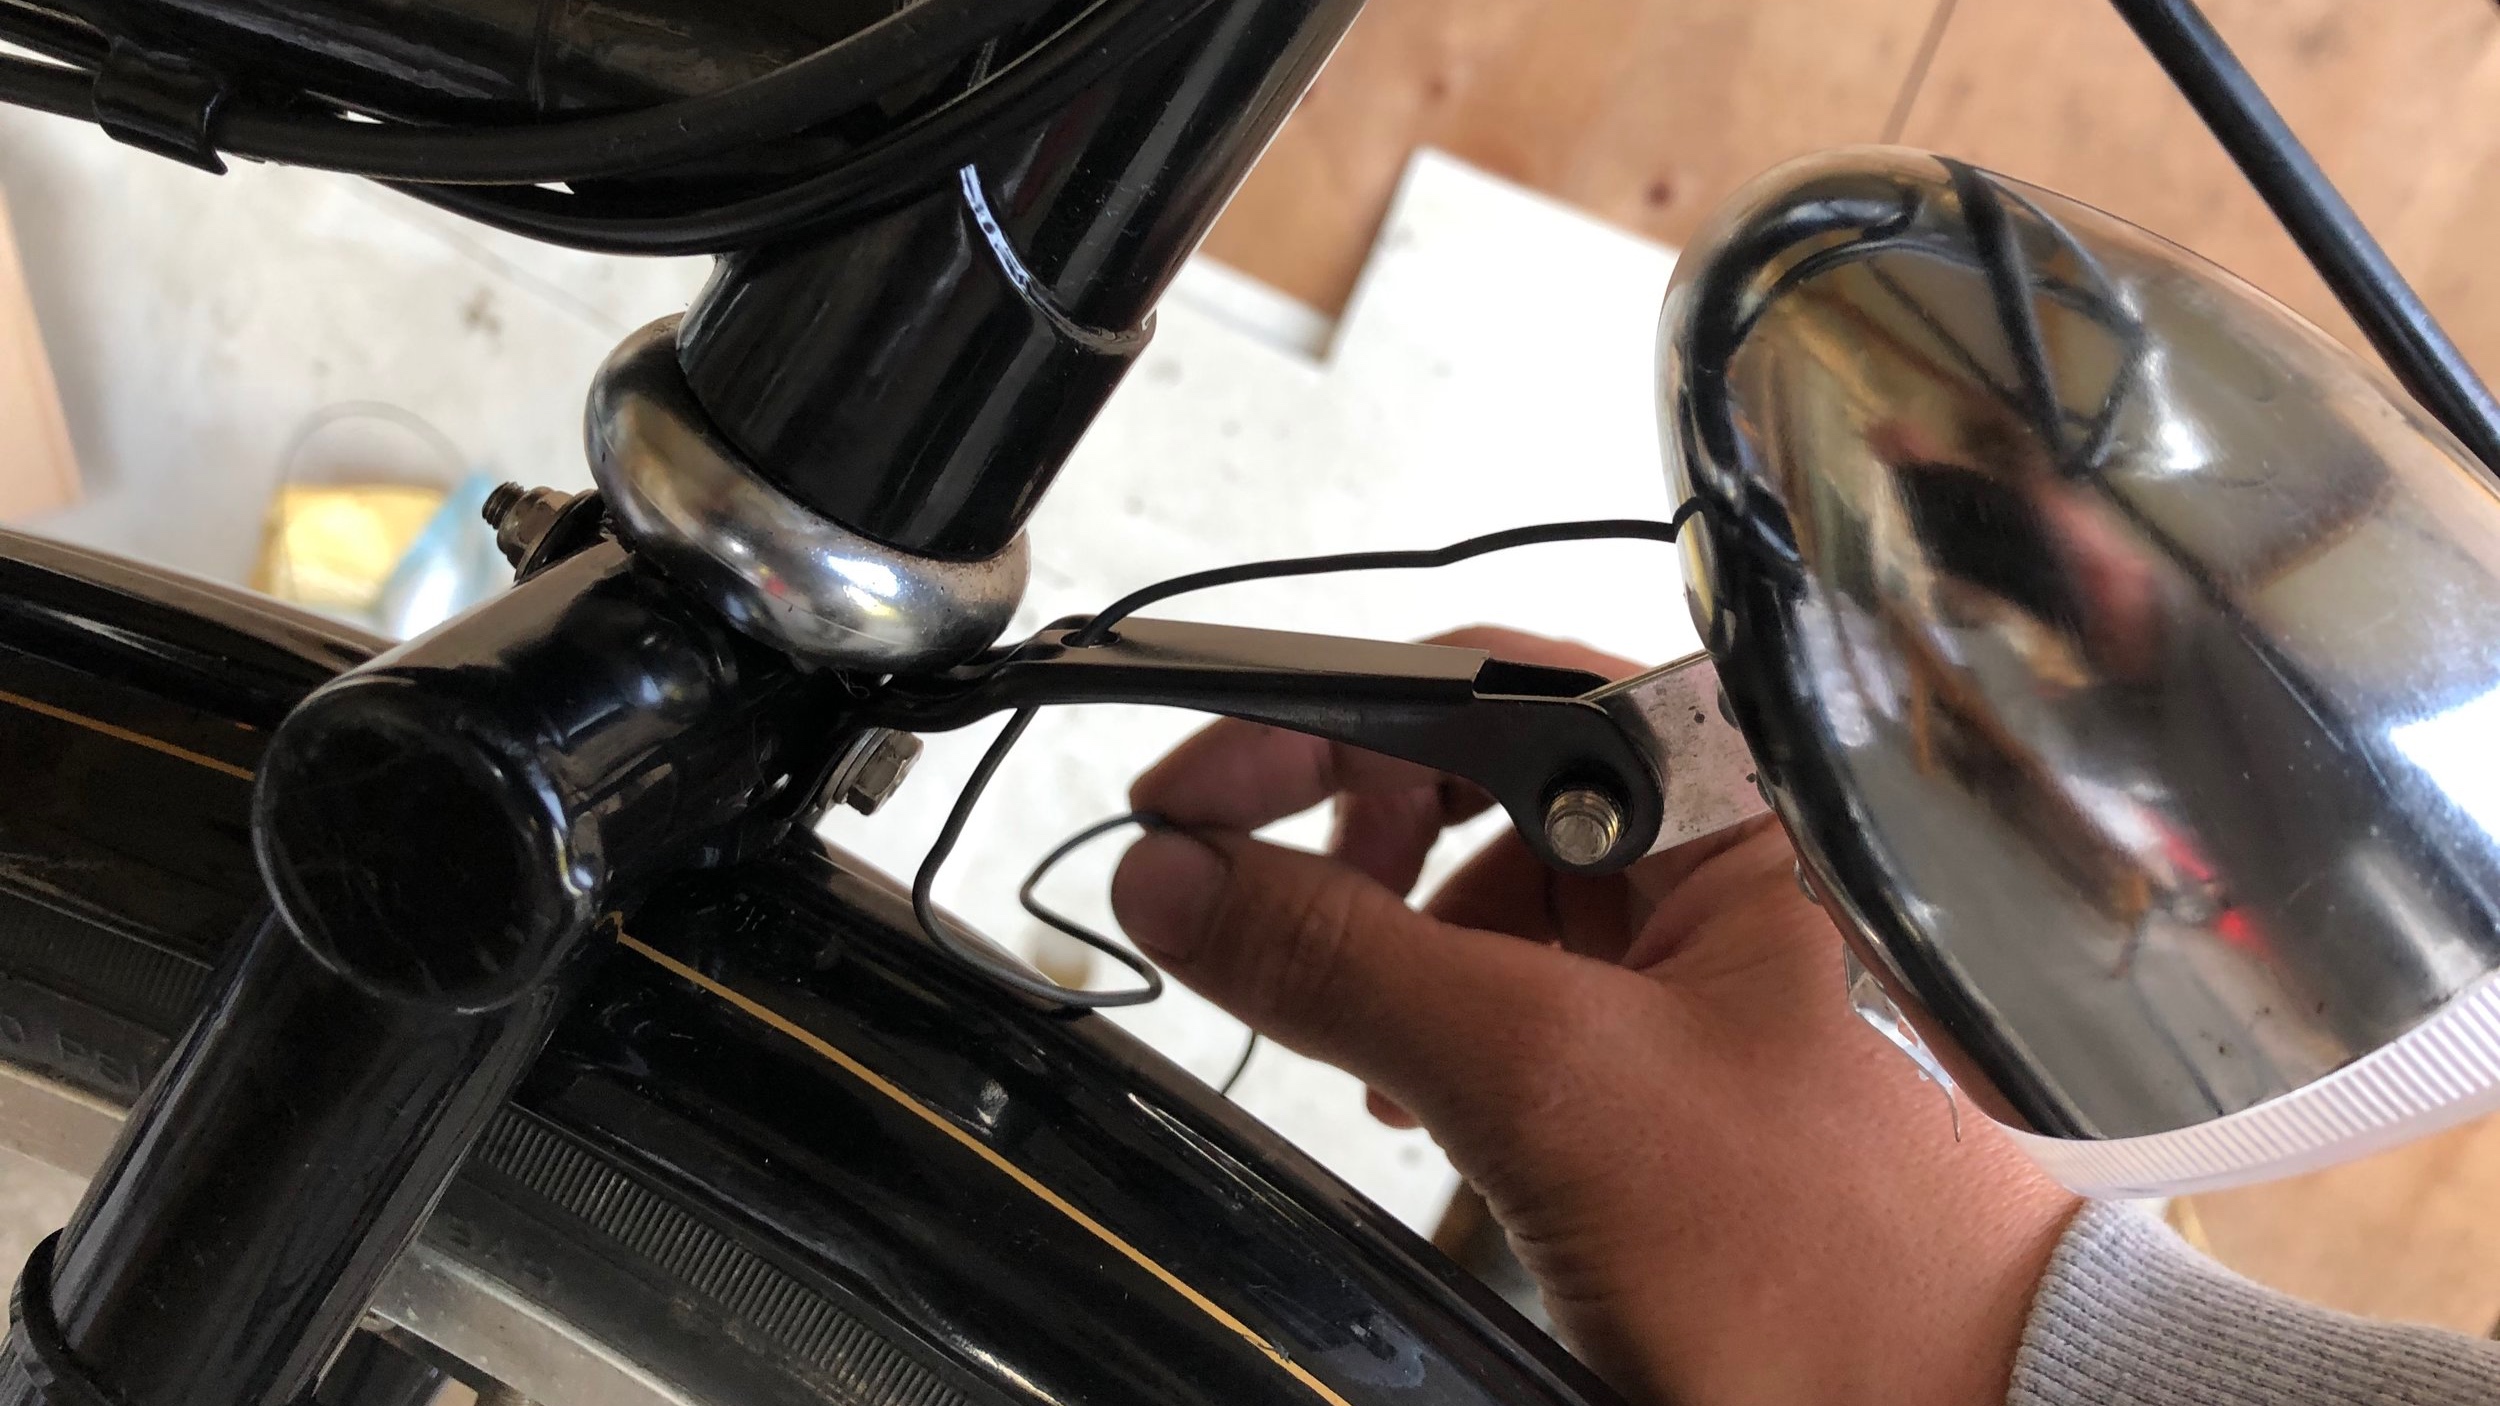
Next it is time to fit the light, there is usually some sort of adaptor included with the light that you can get to fit with a few spacers and bolts. Bottle dynamos are designed to run on the tire or rim so will mount to the fork leg, The bike here has mounts dedicated to the dynamo however you can buy mounts that clamp to the fork, It is worth checking your bike before ordering the kit so you know what you’ll need.
Also note the bottle dynamo should be mounted as ‘straight’ as possible to the centre of the hub, this ensures the dynamo is working as efficiently as possible with minimal drag.

Now we have to attach wires! Heres a picture of the dynamo as you can see there is a clear positive terminal, this needs to attach to the positive from the light or the wire already wired into the lamp in my case.
Carefully route the cable down to the dynamo ensuring it is out of harms way and not obstructing any other components.
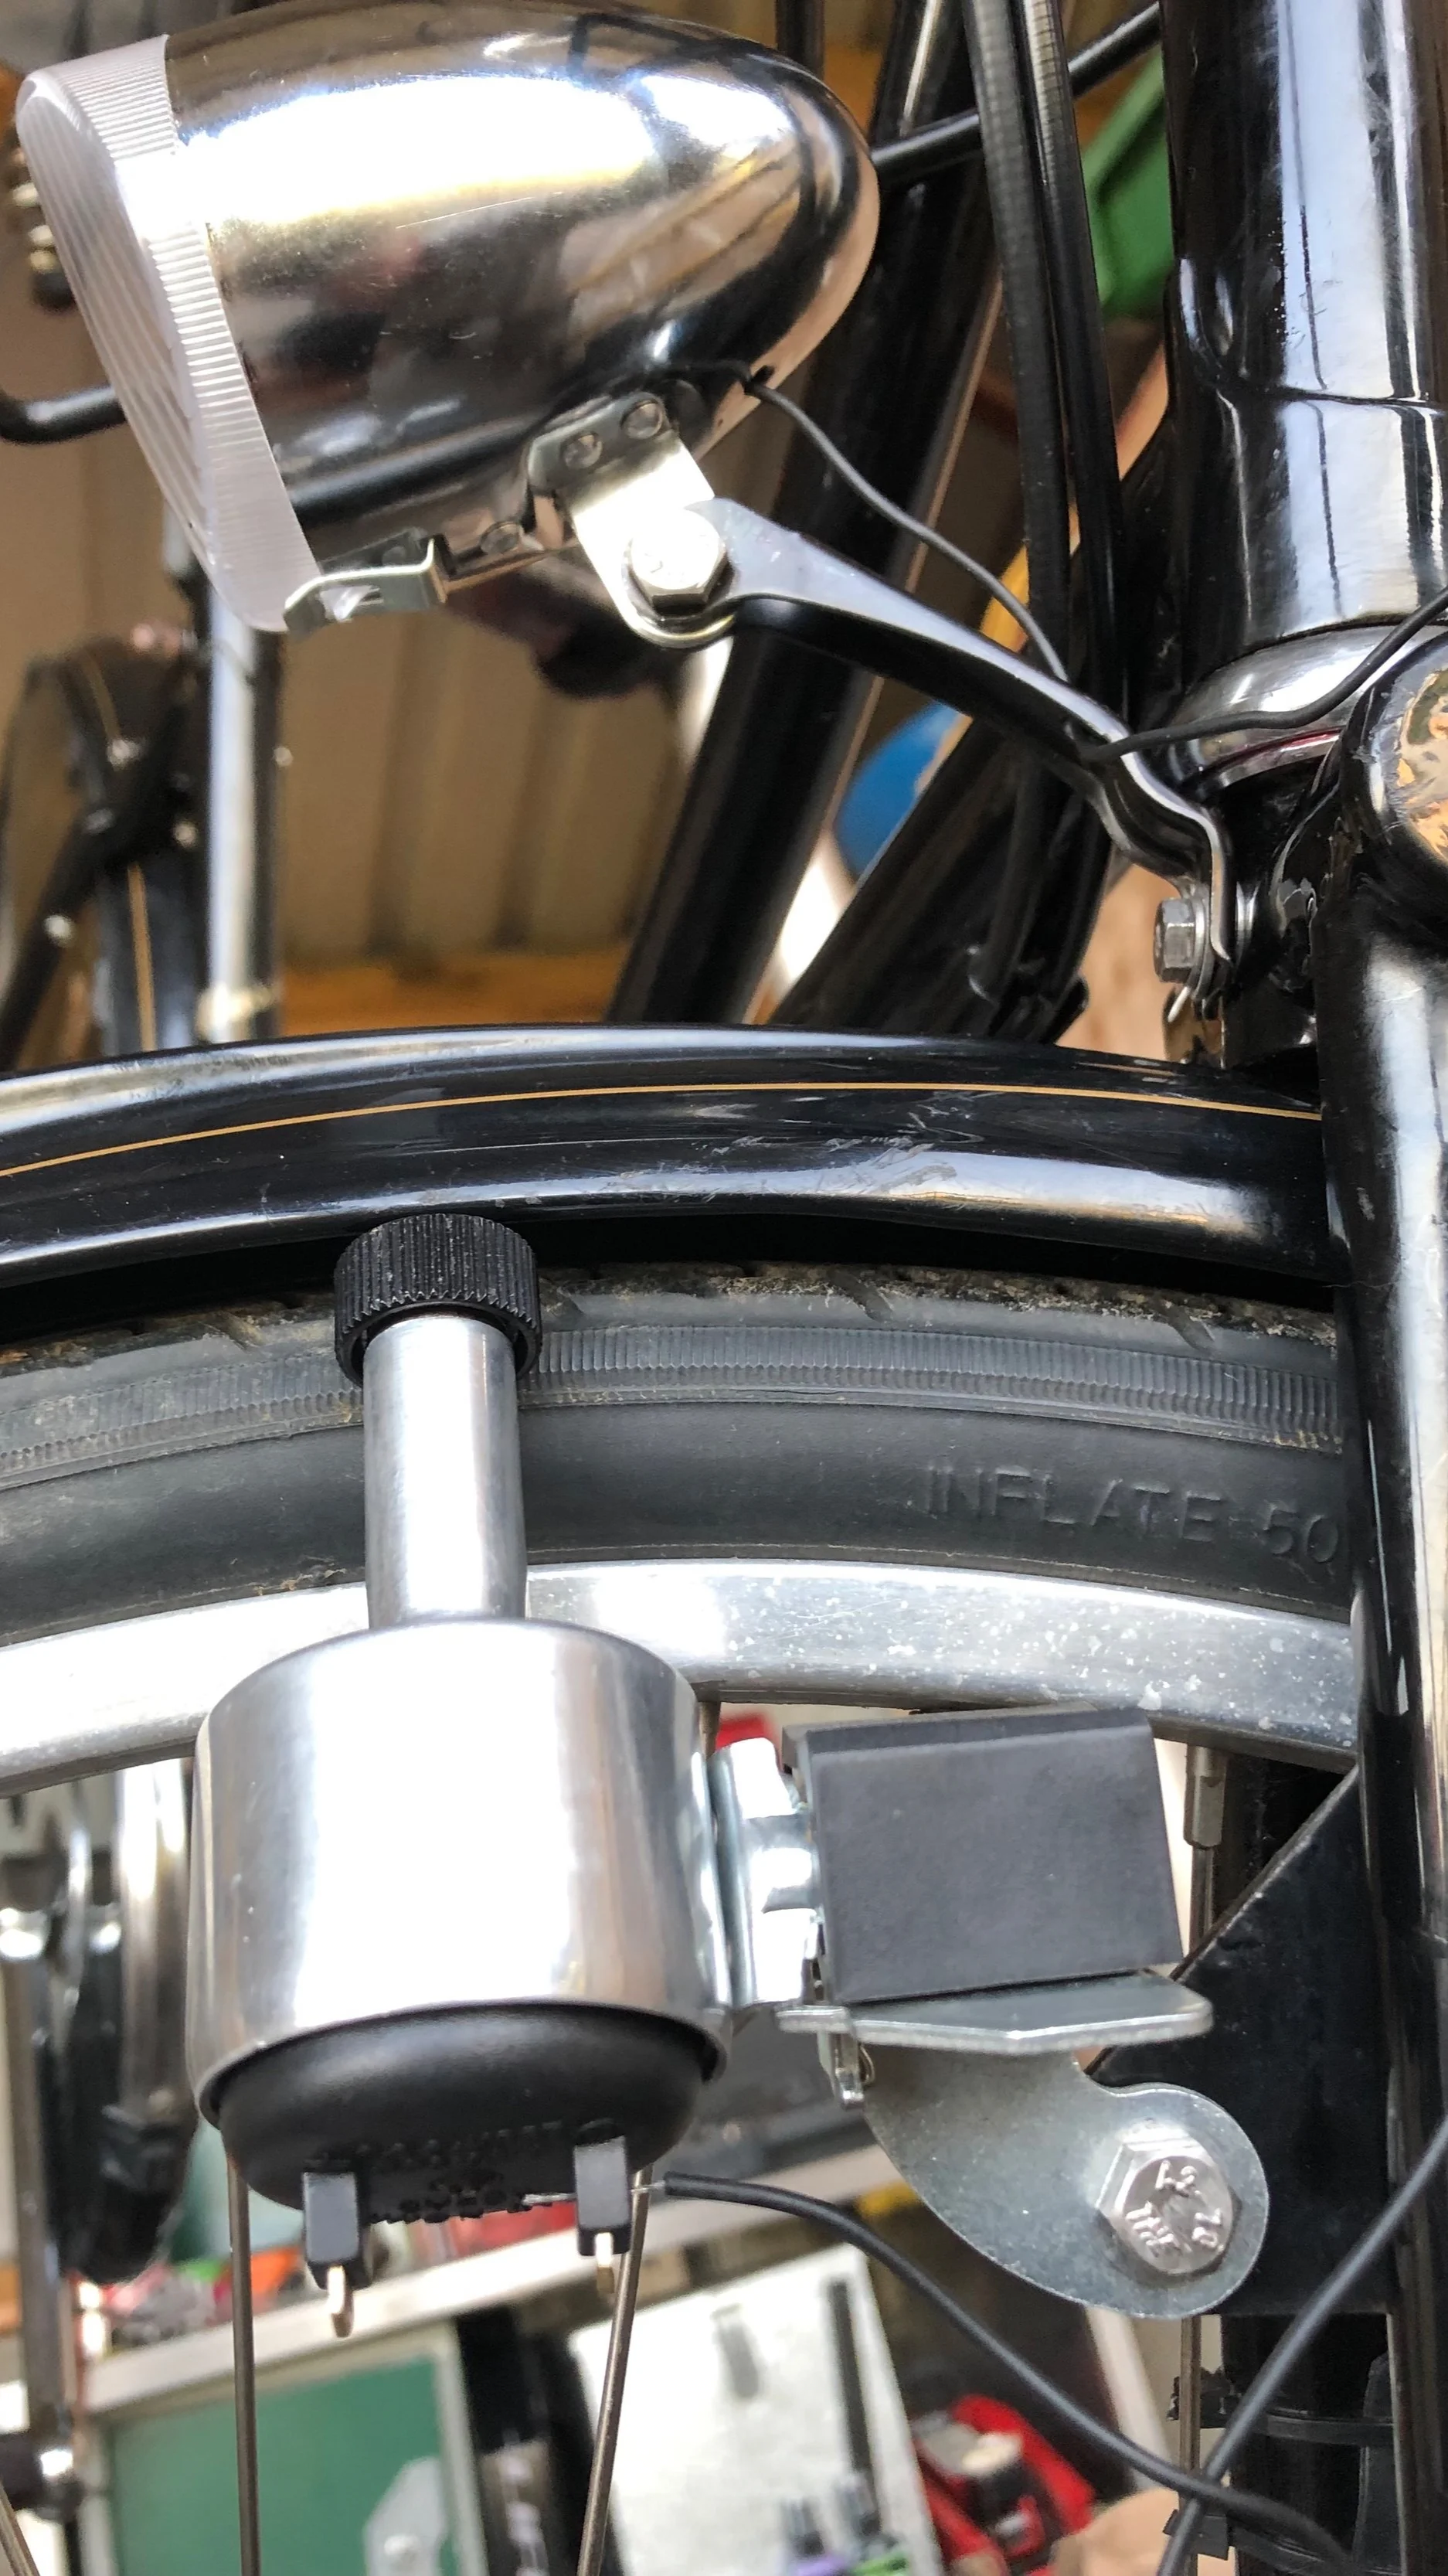
Now moment of truth… Provided you haven’t used any rubber spacers in the installation process, the circuit will be complete via the metal frame of the bike. Note the additional terminal on my dynamo is for a rear light.
If you have a negative terminal on your front light and dynamo then you will have to connect these up in a similar fashion as the positives in order to get a complete circuit.
While this is a very basic example we hope it inspires and at least gives you the confidence to give the dynamo light a go, it’s a great addition to any bike especially suiting vintage steel frames.
